Confluence
DevOps as a Service includes a hosted and managed version of Atlassian Confluence. Please check out the vendor provided documentation to learn how to work in Confluence spaces. You can skip any documentation related to Confluence installation or administration.
- First steps in Confluence
- Create the first page
- Link a Jira issue into the page content
- Create the second page and link to the first page
- Setup Page Hierarchy
- Table of Contents
First steps in Confluence
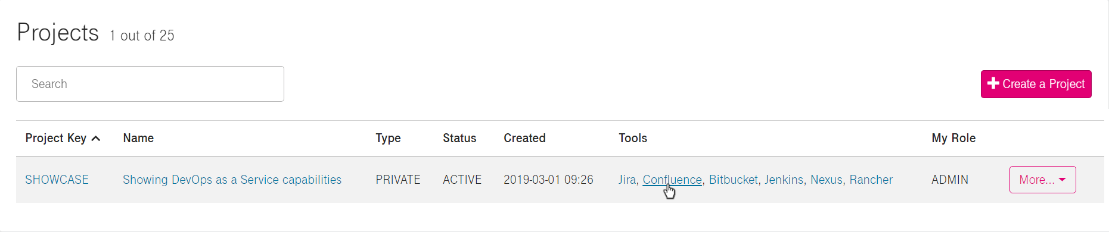
Select Projects in SDPortal, then click on Confluence in the Tools section:
Log in to Confluence with your username and your password:

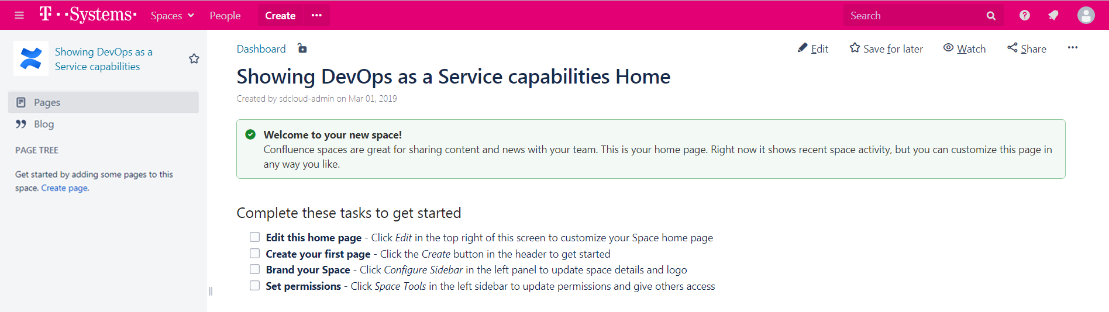
The default space screen appears.
Create the first page
Click Create from template (the three dots next to Create)

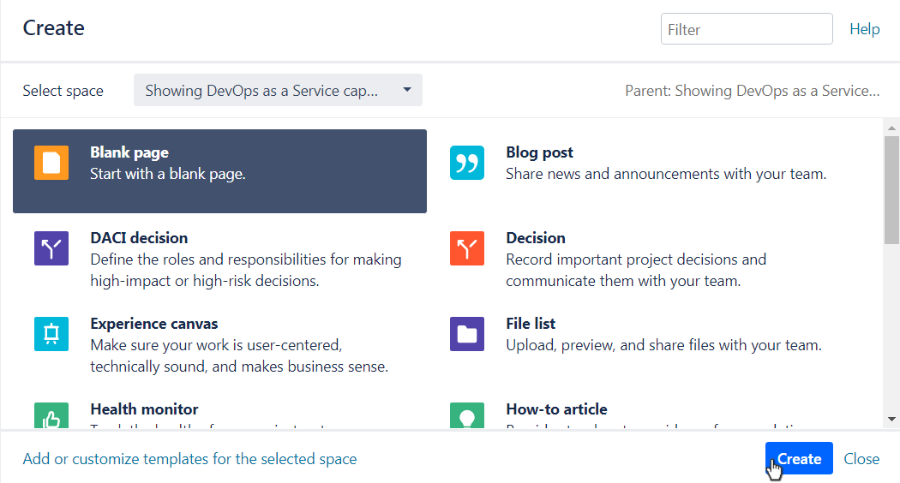
You can see the different page templates, select Blank page, then click Create at the bottom:
Link a Jira issue into the page content
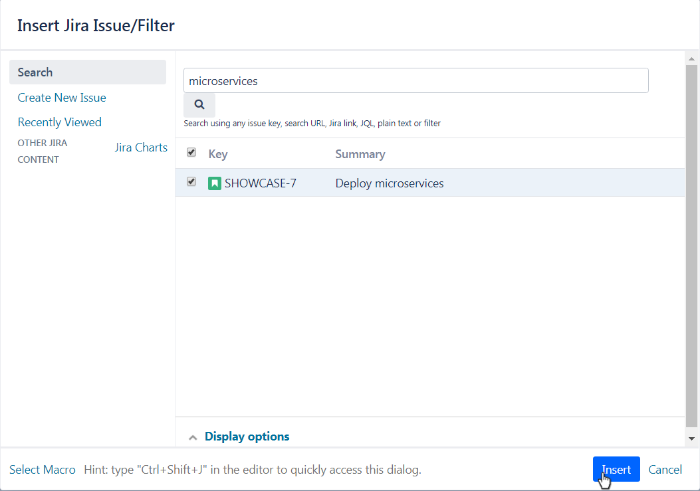
If you would like to insert a link to a Jira ticket in your page content (at first you have to create the exact ticket), click on the Insert macros button and select Jira Issue/Filter: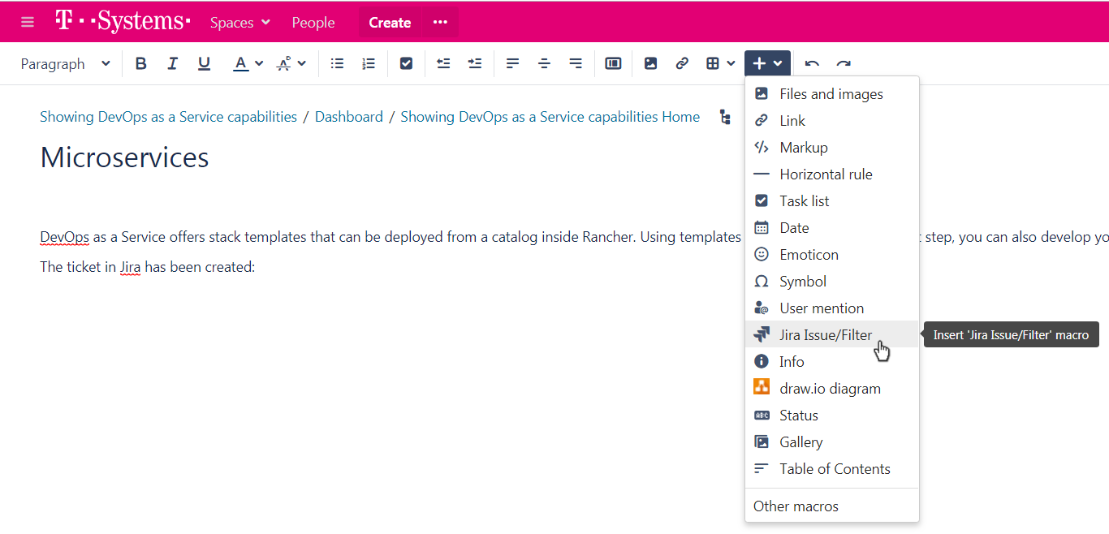
Type the ticket's name (key or summary) on the top (in this example the Deploy microservices ticket can be inserted), then click Insert at the bottom:
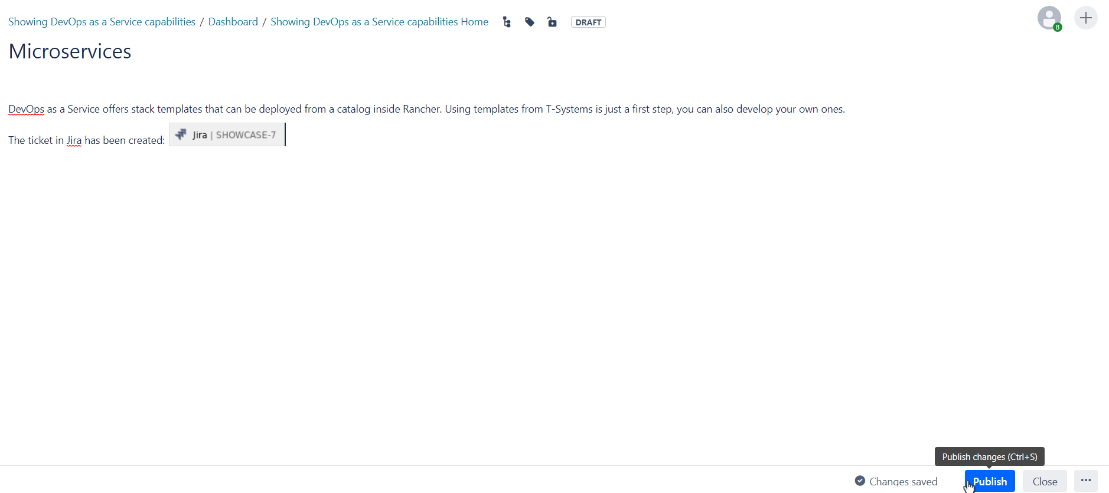
To see the result, you have to Publish the page.
Now the link to the ticket is created and the status of the ticket (in the example it is IN PROGRESS) is shown. Clicking the link will open the ticket in Jira.
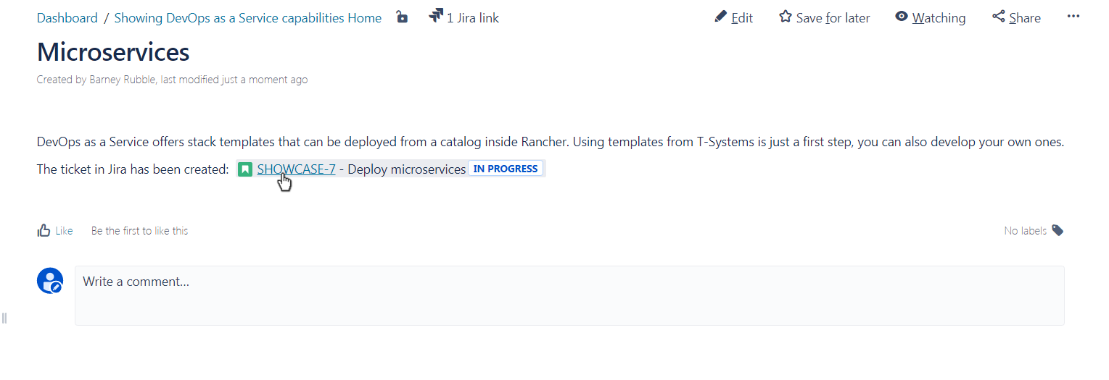
If the status of the ticket changes, this will be reflected in the Confluence page (in this example the ticket status is changed to DONE).

The created page can be seen on the left side under PAGE TREE (which represents the hierarchy of the created pages also)

You can create other pages by repeating this method (create, then publish).
Create the second page and link to the first page
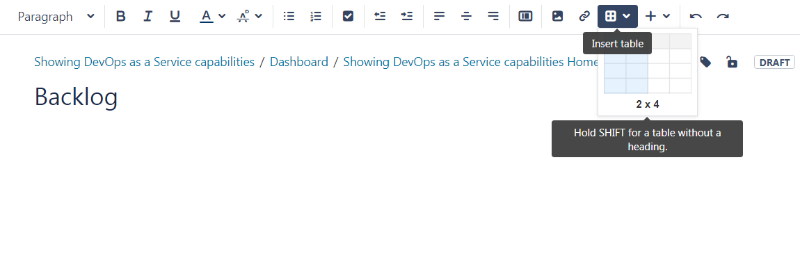
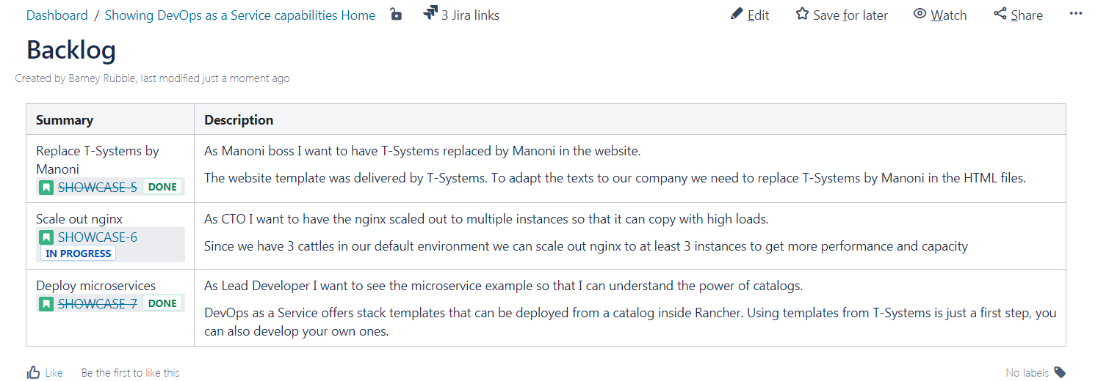
In this example a new blank page is created to show the backlog of the progress of the project.
To create a table click on the Insert table icon:
Insert the Jira tickets in the Summary column and the explanation in the Description column.
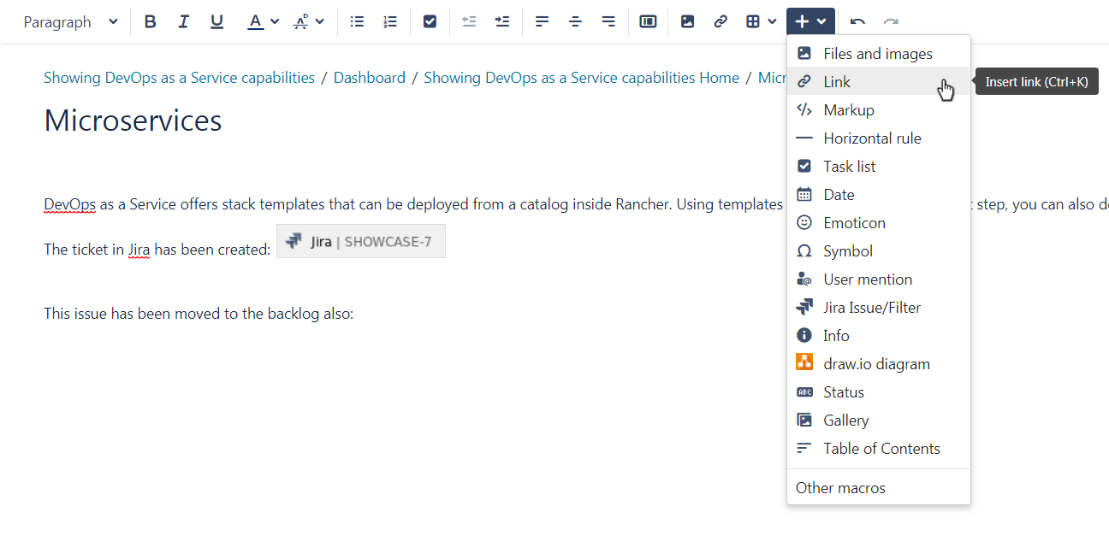
To link this page to the first page, just select the first page (in this example the Microservices page), then click Edit
Click the Insert macros icon, then click the Insert link option.
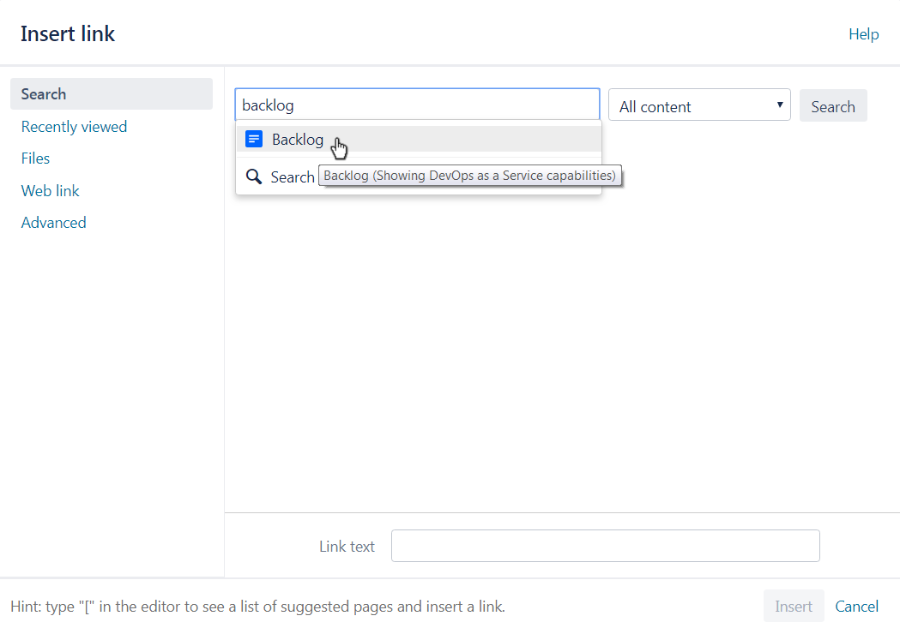
In the Insert link window, start to type the title of the page and select from the results.
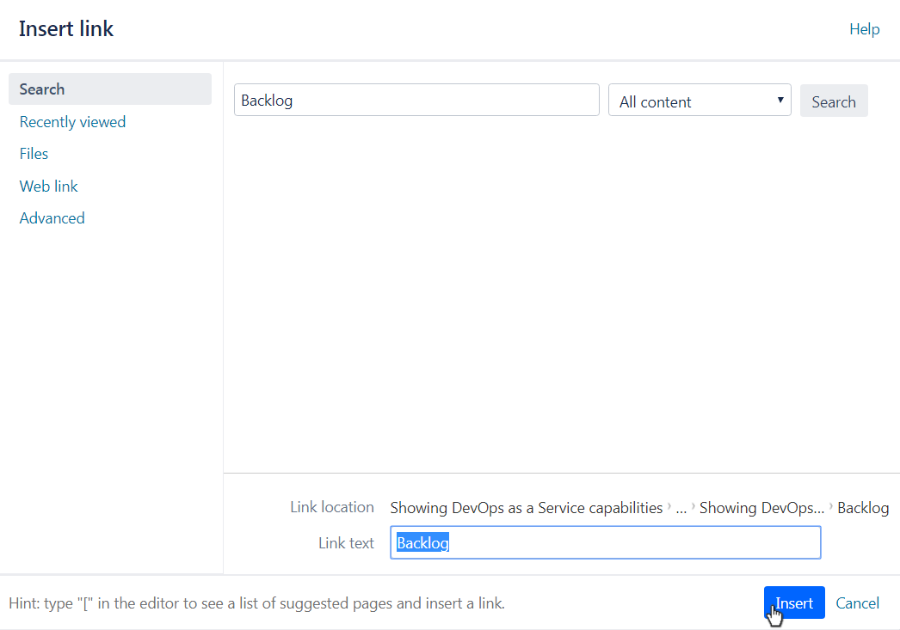
You can change the text of the link in the Link text field, in this example it is not changed.
To create the link click on Insert button on the bottom.
You can see the link immediately, in this example the Backlog link (marked as blue):

You have to Update (publish again) the page to test the link:

Every time you modify your content, you can see the results by clicking Update. You can also set the notify watchers option to if you would like to notify other users about the changes.
Clicking the created link (in this example Backlog) loads the linked page:

Setup Page Hierarchy
If you created at least two pages you can setup the page hierarchy (it will appear under PAGE TREE on the left).
In this example we have Microservices that can be moved below the Backlog page.
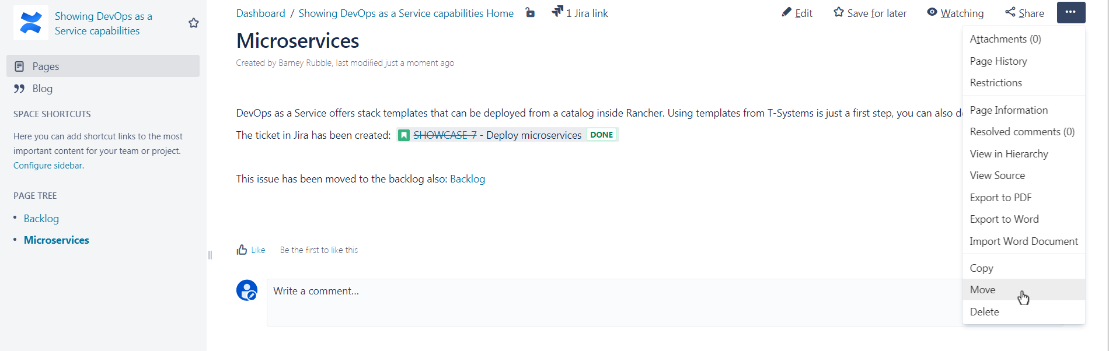
Select the page that you would like to move in the hierarchy of the pages, then click Page menu (next to Share button with the three dots), and select Move:
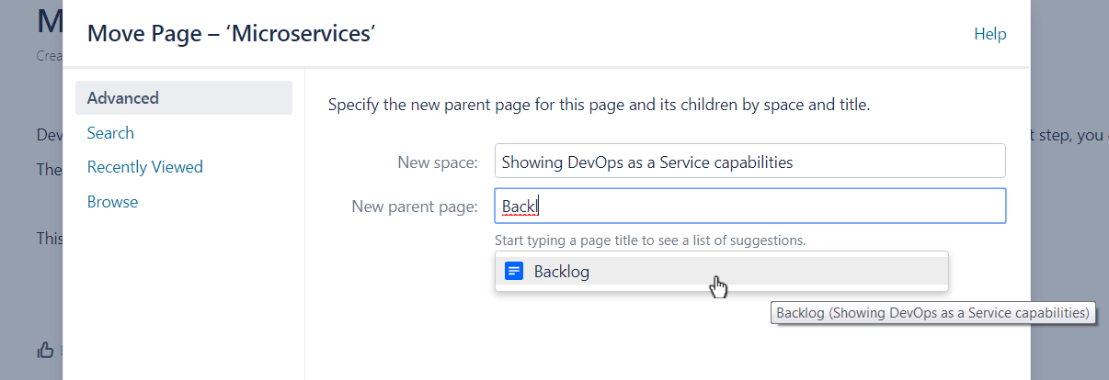
Type the name and select the new parent page (in this example Backlog):
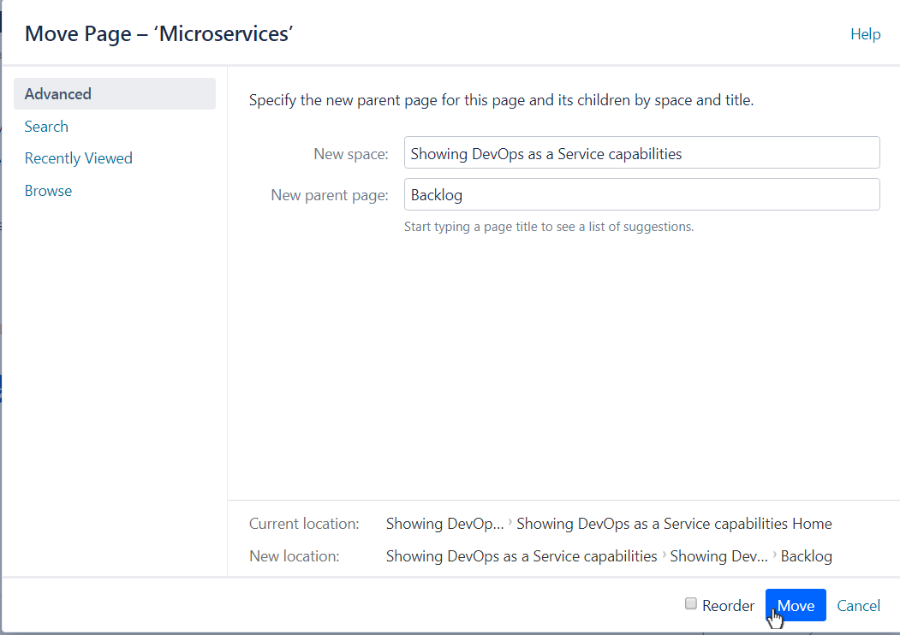
Click Move at the bottom:
Now the moved page is shown below the selected page in the PAGE TREE:

Table of Contents
If you would like to add a table of contents to your page, at first you have to create the titles by selecting one of the Heading formats for the text:

Then click Insert macros icon and select Table of Contents.

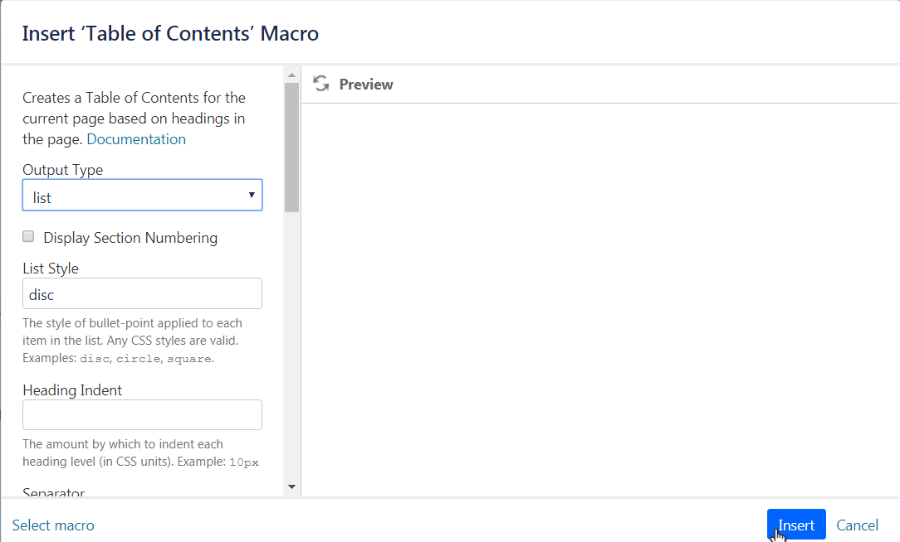
A dialog pops up that let's you customize certain aspects of the table of contents (in this example nothing is changed). Click Insert once you're done:
Now the Table of Contents macro appears at the last cursor position on the page:

To check the macro simply Update the page and the Table of contents is created from your page's headings:
