DevOps Portal for Creators and Admins
The DevOps portal is used to manage DevOps-as-a-Service, which is a set of tools that aid in the delivery, development, and management of applications throughout the systems development life cycle, as coordinated by an organization that uses DevOps practices.
Table of contents:
- Creating user accounts
- Modifying user accounts
- Creating Technical Users
- Modifying Technical User accounts
- Creating Organizations
- Modify Organizations
- Creating Projects
- Managing Projects
- Assign a user to a project
- Viewing and Modifying the role of a user in a project
- Administration menu of the DevOps Portal
Creating user accounts
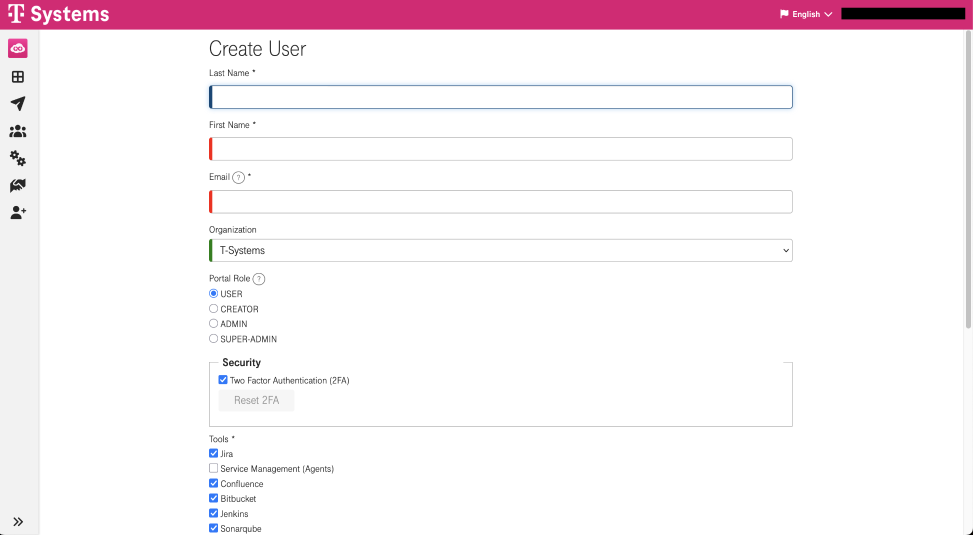
After a successful login you can continue with onboarding your colleges. In the top menu, click Users, then click Create User button:

Please fill in the required fields with the user's Name and Email address (where the activation email will be sent), and select the Organization (or use the default).
The Organization can be the default organization, or you can create a different organization. Find more information in the Creating organizations and Modify Organizations sections.
The Portal Role (in this example, it will be USER) can be either Admin (with permission to manage the portal) or User (without permission to change users, organizations, etc.). By default, all user accounts are created as User.
The Tools section lets you choose which tool(s) the user should have access to.
Click Save to send the invitation email to the user. Please refer to DevOps Portal for Users for further information regarding the activation process and password change.
The new user's status will be CREATED until the profile has been activated. Activation can either be done by the user her-/himself (by following the received link) or by an admin user via More ... → Activate. The latter option will prompt the admin to manually set the user's password
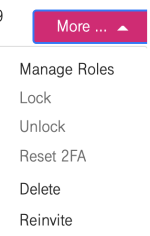
If needed, a user can be invited again by selecting the Reinvite option. This can be used if the user missed the activation deadline mentioned in the email, without locking the user's account.
After receiving the email, the user's status will be CREATED. Once the activation is successful, the status will change to ACTIVE.
If an email address was entered incorrectly, the user will need to be deleted and recreated. Email addresses cannot be changed for existing users.
Modifying user accounts
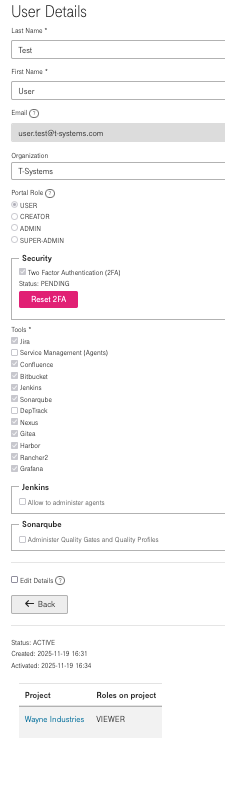
A user account can be modified by clicking his / her last name. However, it's not possible to change a user's e-mail address.

To change the user's email address, the user must be deleted first. It can then be recreated with the new email address.
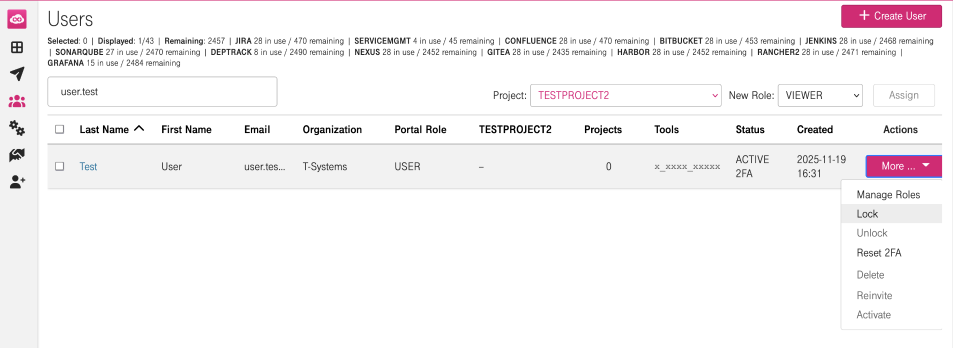
Under the Users menu, the Lock/Unlock function is available in the More... dropdown menu. This function is used to suspend a user account (which is a necessary step before deleting a profile). The status can be changed to locked or unlocked here.
Please keep in mind that a locked user can still receive notification emails.
In order to delete a user, he / she must be locked first and must remain in locked status for a certain period of time. Since deletion is not reversible, It is suggested to only lock users rather than deleting the user profile.
The Delete option will present a confirmation.
An attempt to delete a locked user without being in locked state long enough will result in an error message: "This user has not yet spent enough time in Locked status to be deleted."
In case of a re-invited user, it is also possible to let the admin do the activation process instead of the user. To do so, click Activate. The user can still change the password later with the reset password option. Please refer to the Forgotten Passwords section of the DevOps Portal for Users page for details regarding forgotten passwords.
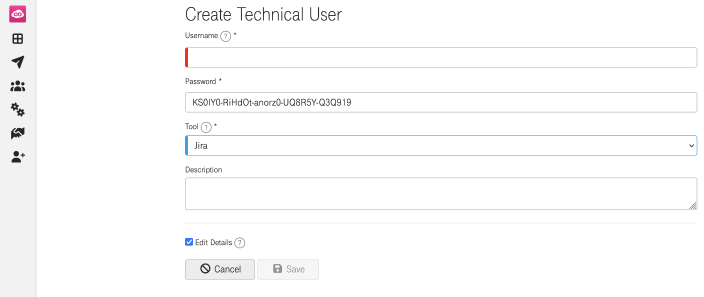
Creating Technical Users
For automation tasks, technical users can be created. The technical user is bound to one tool. To create a technical user, access the Technical Users menu and click the Create Technical User button.

When creating a technical user, it is necessary to choose a username and to select the tool. It is recommended to choose a username that refers to the exact task or tool. The password is already pre-generated to be as secure as possible, but it can be manually changed (though not recommended).
The description is optional for creating a technical user.
![]()
Modifying Technical User accounts

To view the details of a technical user, click its username. Tick the Edit Details box to make modifications to that user.

It's also possible to change the tech user's password here. There is a minimum length required for passwords.
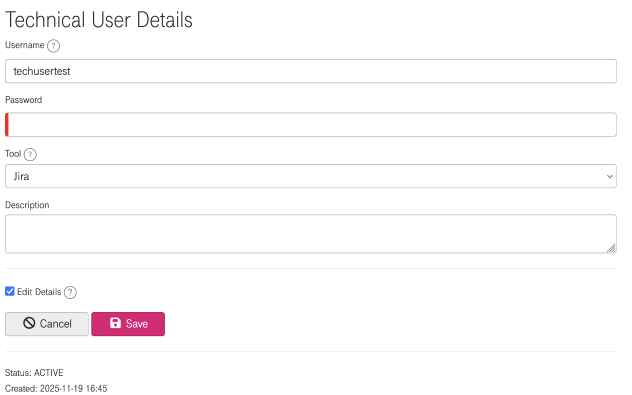
If you would like to change the username or the selected tool you have to Delete the user and recreate it again. The Delete option will present a confirmation.
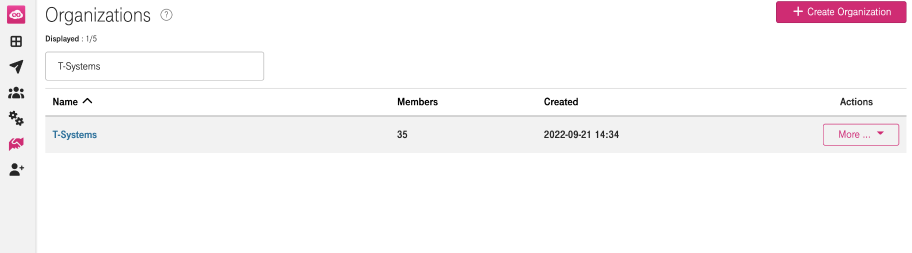
Creating Organizations
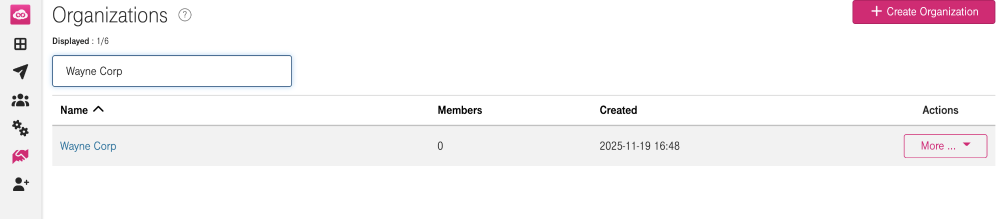
Per default, a user account is assigned to one organization (here in the example the default organization is Manoni). To add more organizations to a user account, click Organizations in the top menu and add a new organization by clicking Create Organization:
In the following example we create the fictional company Wayne Corp.
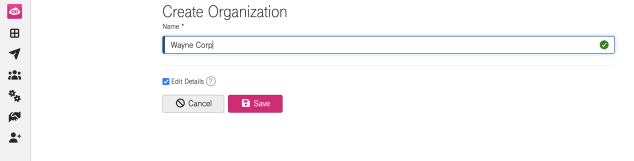
After providing a name for your organization, click Save to create the new organization.
More organizations can be added by repeating these steps.
Modify Organizations
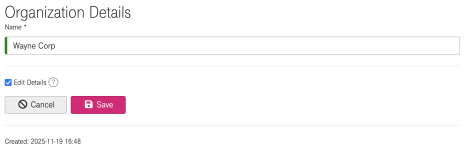
To modify an organization's profile, click the organization name (Wayne Corp in the example).
The Edit an Organization page will load and you can change the organization's name by replacing the name with the new one (so it is not necessary to delete an organization just because of the wrong name or a typo). As with the users edit page, the Edit Details checkbox needs to be ticked for editing to be enabled.
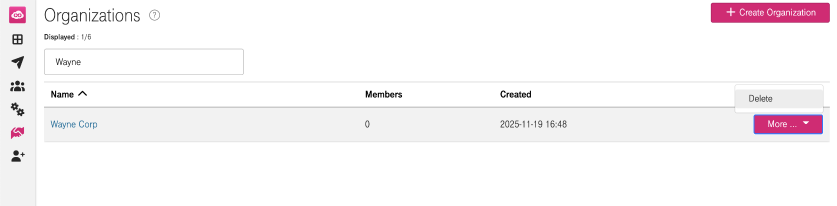
There is an option to Delete an organization, but keep in mind, that deleting an organization is not reversible. An organization cannot be deleted if at least one user is still assigned to the organization. The deletion process can be accessed from the Actions - More button. A confirmation will appear.
The default organization is tied to the DevOps-as-a-Service instance and can never be renamed or deleted.
Creating Projects
In order to use the provided tools of DevOps services, first you have to create a project. Just Click on Projects in the top menu.
The list of projects will be loaded. If there isn't any project in the list, then one can be created easily:
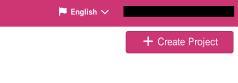
To add a new project click Create Project:
Fill-in the following field:
Project Key: This identifier cannot be changed later and is used to identify the project in all tools. Letters and numbers are supported, but no special characters are allowed and it cannot start with a number. The portal will automatically display the Project Key in uppercase, but in some tools, it will appear in lowercase.
Name: This is the name of the project. Spaces are supported.
Type: The default value is PRIVATE, which means that members of the project will need to have a role assigned to gain access to the project.
Tools: These are the available tools that can be used in the toolchain by default.
Description: This is an optional field for a description of the project.
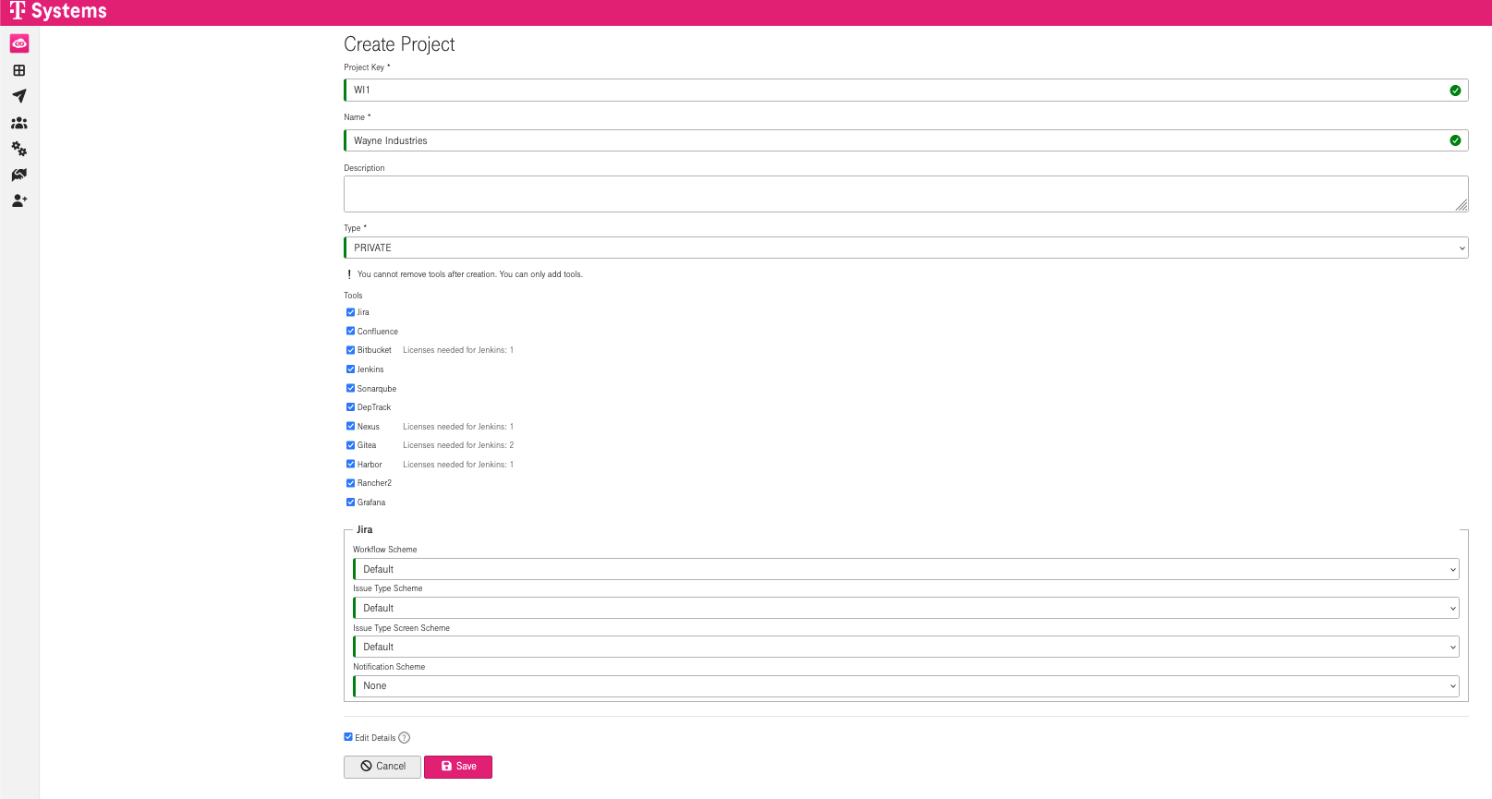
Click Save to create the project. The list of projects will be reloaded and should contain the new project. If you would like to add more projects then repeat the previous step.
In the following example WI1 project has been added.
Managing Projects
To see or update the settings of a project, click the Project Key (WI1 in the example). Click More ... to open the actions menu.

When nobody works on a project anymore, the project can be archived by using Retire. A retired project cannot be accessed anymore, because all roles of the project will be removed from the associated tools. If you would like to use this project again you can Reactivate it. The project will then be Active and usable again, but user roles have to be restored manually if necessary.
Retiring a project does not delete the project's data, it makes it inaccessible only.
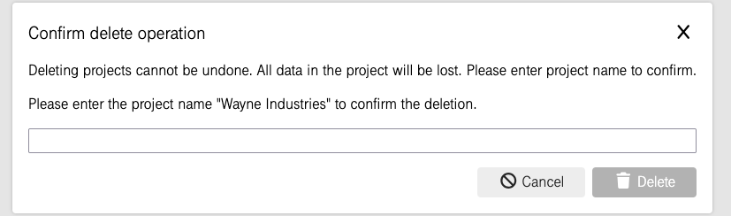
If you would like to permanently remove a (retired) project, select Delete in the Actions menu (but keep in mind that a deleted project cannot be activated again, so it is suggested to just retire a project rather than deleting it).
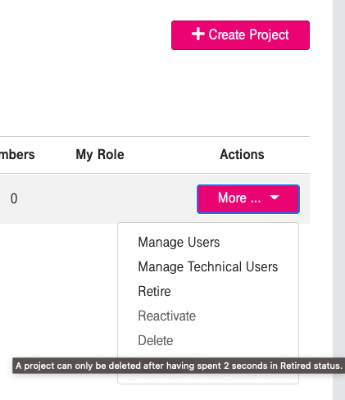
A project can only be deleted after having spent some time in the Retired status.
A confirmation is needed where you can type the project's name that you would like to delete and click on Delete button.
Assign a user to a project
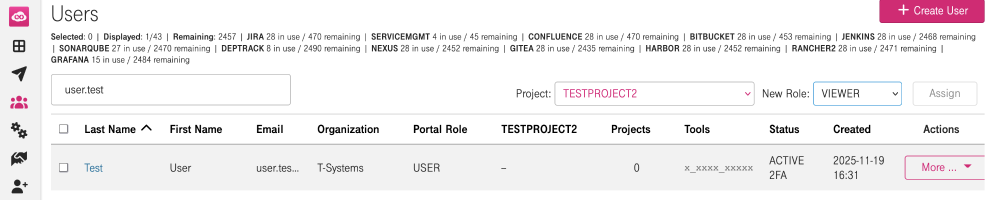
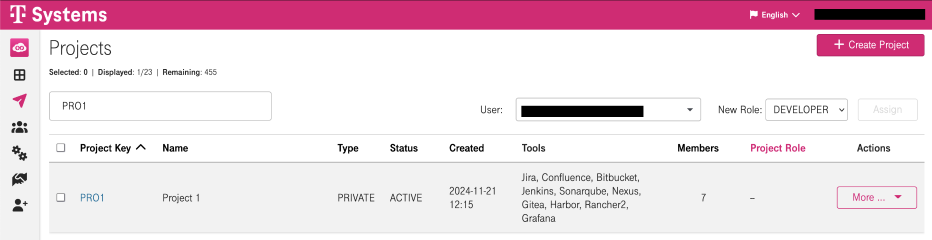
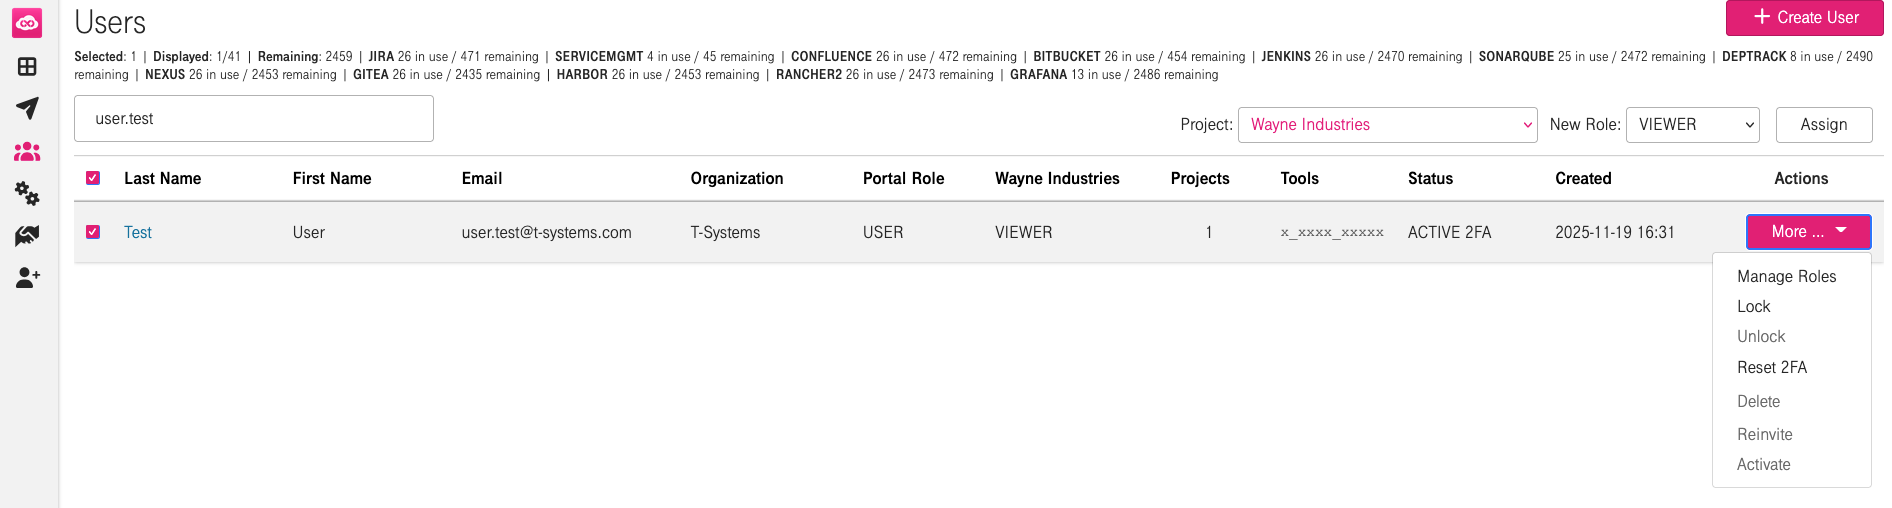
If you would like to add a user to a project Click Users in the top menu, then select the user from the list:

Select the Project and the New Role - one of ADMIN, MASTER, DEVELOPER, VIEWER (depending on the desired rights). After that, click Assign:

Each user who is a member of a project has to be in exactly one Project Role. Therefore it is not possible to have multiple roles in a project.
If you want to Delete a User from a project, simply select the "-" from the New Role dropdown menu.
Different roles have different sets of permissions. Possible roles are:
Admin | Full access, even to potentially dangerous operations like Project Lifecycle Transitions. Can administer Project Members and Roles. |
|---|---|
Master | Limited full access to avoid accidental data loss or other irreversible changes. |
Developer | Read-write access to contribute to the Project |
Viewer | Read-only access to all not security-relevant data in the Project |
Please refer to Users and roles for a detailed description of users and roles in the tools.
Viewing and Modifying the role of a user in a project
If you would like to see the settings of a Project Member click Manage Roles in the More... dropdown menu.
In order to modify the roles of a project member, repeat the steps of Assign a user to a project and select the new roles.
Administration menu of the DevOps Portal
In the Administration menu you can have special options to choose from, most of these features are for troubleshooting and monitoring.
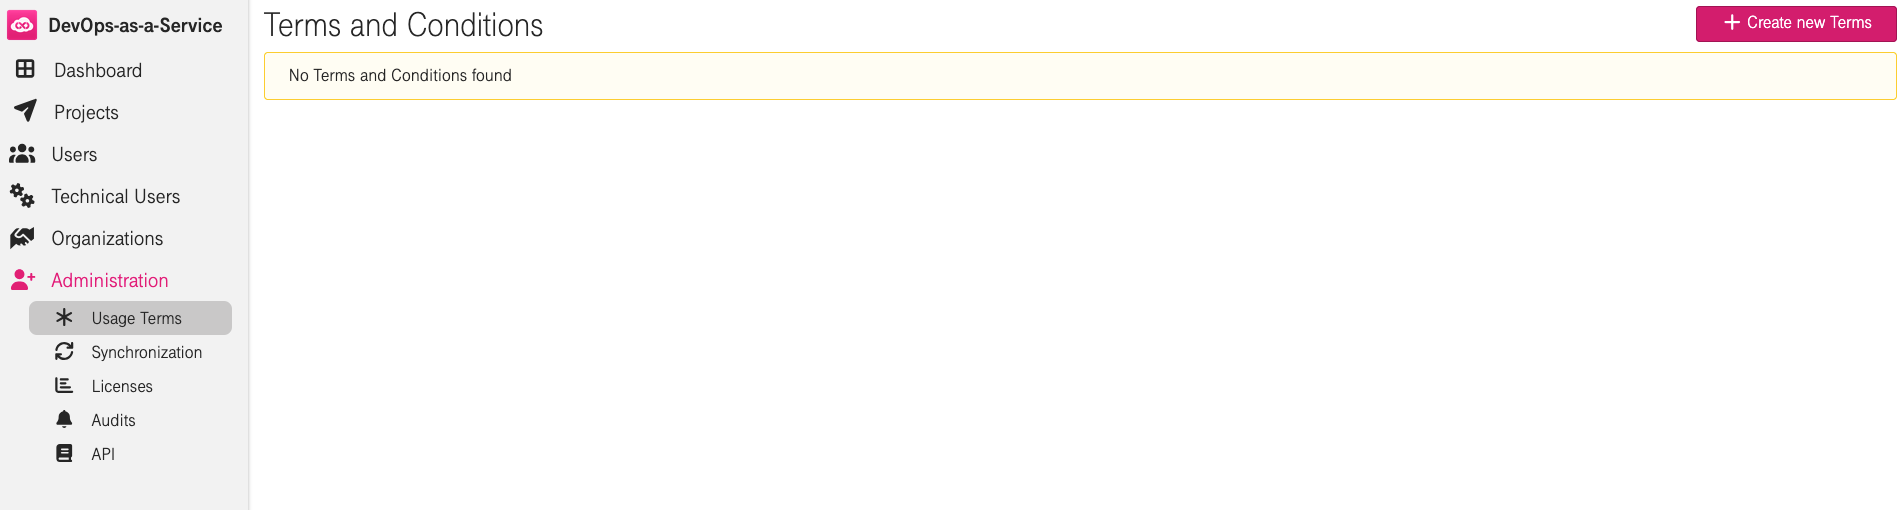
Usage Terms
With the "Usage Terms" option you can create and upload your own terms and condition documents about the usage of your own DevOps-as-a-Service toolchain. It is basically an option to provide any document to accept by the users (e.g. documents related to data protection regulations).
As an administrator, you can upload a document by selecting this option and clicking Create new Terms.
Choose the preferred language, then click Select file, browse the selected file from your local drive and click Open.
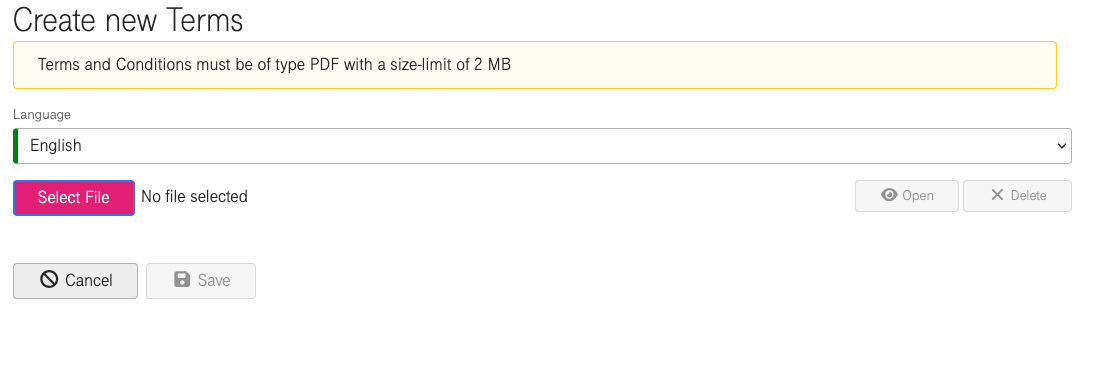
The uploaded document is shown, you can check the content by clicking Open, remove the document by clicking Delete, or you can also Cancel the whole operation. If you would like to use the selected document, click Save.

The selected document will be listed in the documents table and you will be logged out - to re-login and to accept the uploaded document.

After uploading a new terms and conditions document, every existing user has to accept it. Otherwise they are not allowed to login to the DevOps portal.
When new users are invited to the portal, they will receive the uploaded file as an attachment in the invitation mail (so they will be able to read it before following the activation URL).
Every user (including administrators) have to accept the uploaded document only one time, however if you upload another document then both documents have to be accepted by the users.
To remove an uploaded document, click Delete. If you would like to check the content of the uploaded document, click View.
If you decide not to upload a document at all (or you delete all the existing uploaded documents) the invitation process and the login of users will not depend on the acceptance of any document, since nothing is to be accepted.
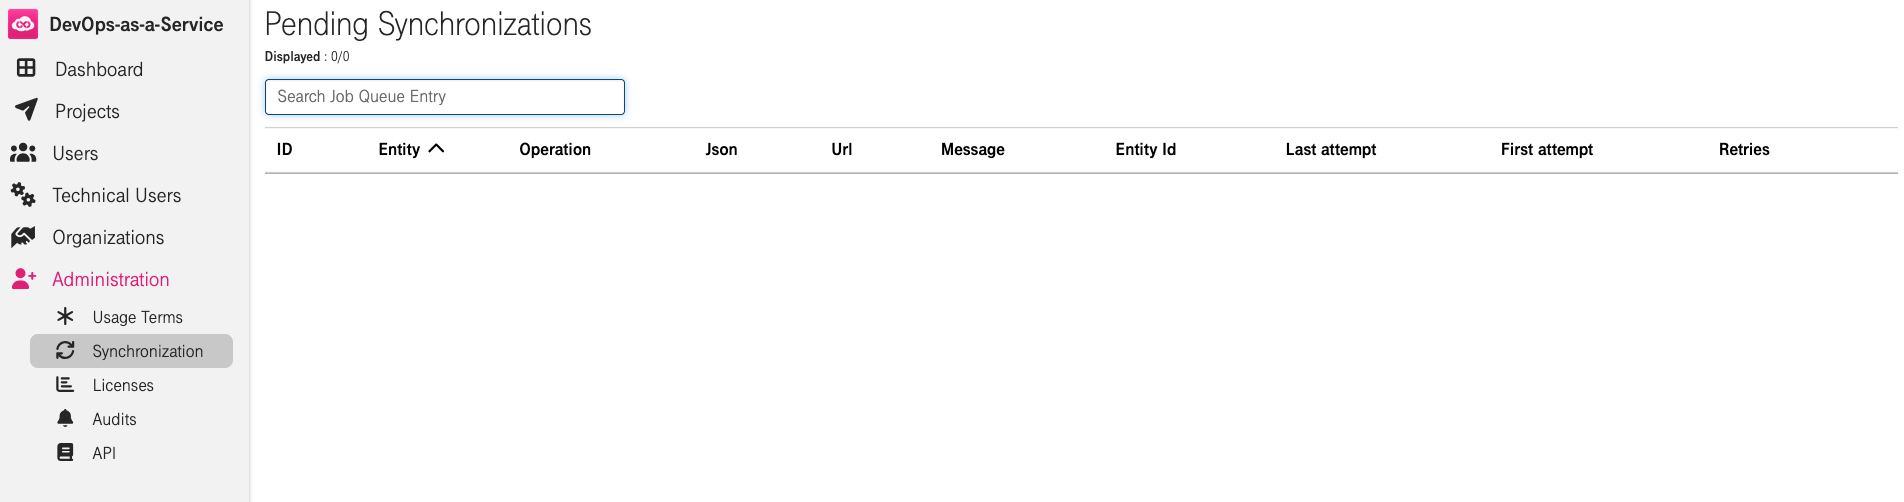
Synchronization
All actions related to users or projects must be synchronized with the LDAP server prior to becoming effective. All pending (i.e. unfinished) synchronizations are listed at the Pending synchronizations page. Successful and finished synchronizations won't be listed.
This information is mainly provided for troubleshooting, in case of errors during the synchronization with the LDAP server.
Licenses
The Licenses page provides information about the number of Active and Available Users as well as the package's User Limit.

Audits
Provides the audit log to check all past activities related to the Portal for up to 90 days.
