DevOps Portal for Users
Welcome to the DevOps Portal. This guide will walk you through the initial steps to begin your first DevOps project seamlessly.
Below, you will find a series of actions required to get your project up and running:
- Invitation and activation
- Log in to DevOps Portal
- Forgotten Password
- Change password
- Select Languages - Sprachen auswählen
- The First Access
- The Projects Page
- The Users Page
Invitation and activation
To begin using our software solution, you must first receive an invitation email from an administrator who has created your account.
This email will enable you to activate your account.
Please see the example below:
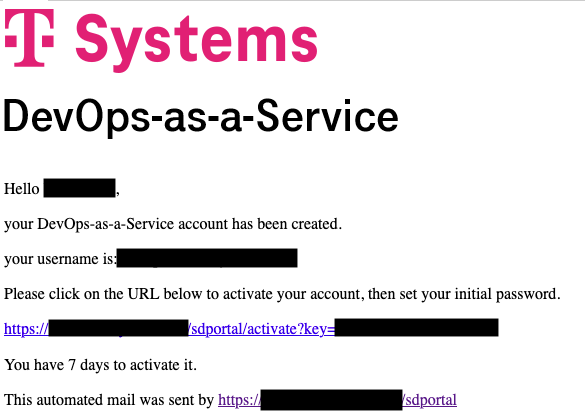
Upon receiving an email containing an invitation link, you can activate your account by either clicking the link directly or copying and pasting it into a new browser window.
Once completed, you will be directed to a page on our platform confirming the successful activation of your account.
Please see the example below:

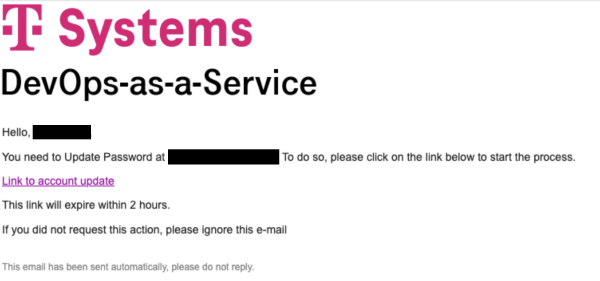
With your account now created and successfully activated, the next step is to set up your password.
Upon completing the activation process, the system will automatically send you an email containing a link to create your password.
Please see the example below:
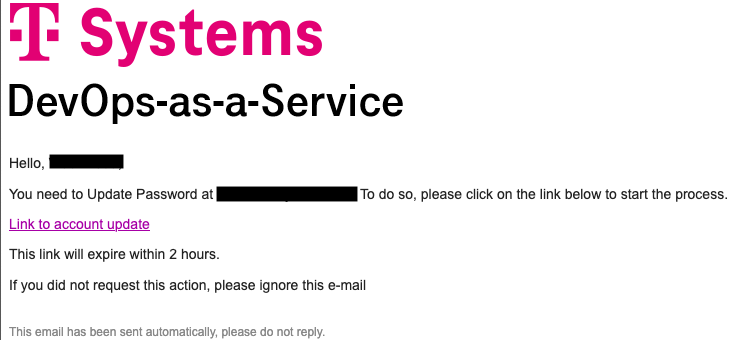
Similar to the account activation process, you can create your password by either clicking the link provided in the email or by copying and pasting it into a new browser window.
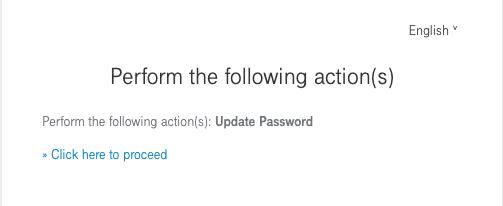
Upon completion, you will be directed to a page on our platform prompting you to take further action.
Please click on the "Click here to proceed" link.
An example is provided below:

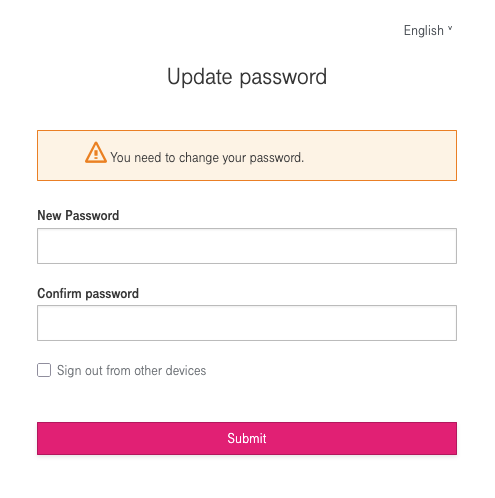
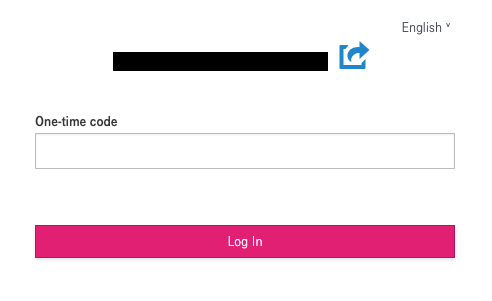
Whether or not you need to configure the second authentication factor, you will now be redirected to the password update page.
Here, you can select a new password that meets the required strength criteria.
Please enter your chosen password twice for confirmation.
After completing this step, click "Submit."
Below is an example screenshot for your reference:
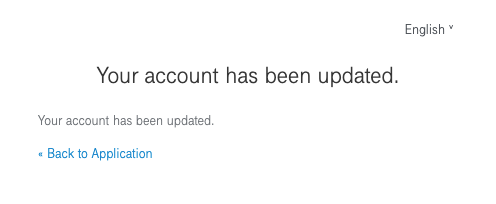
Once your password update is successful, you will be taken to a confirmation page indicating the update's success and providing a link to the application's login page.
Below is an example screenshot for your reference:
With this last step, your account setup is complete, and you can now use it to access the application. Well done.
Log in to DevOps Portal
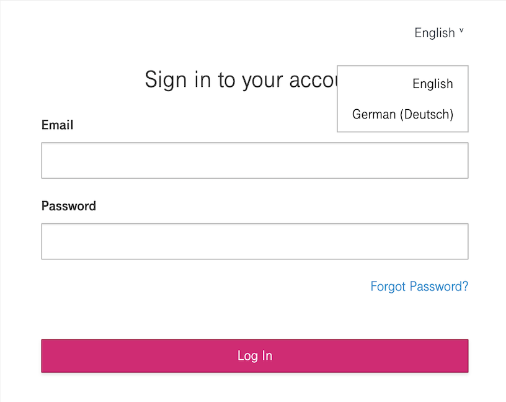
To access the application, begin by entering its URL into the address bar.
The application will then automatically direct you to the login screen.
Please refer to the example screenshot below:
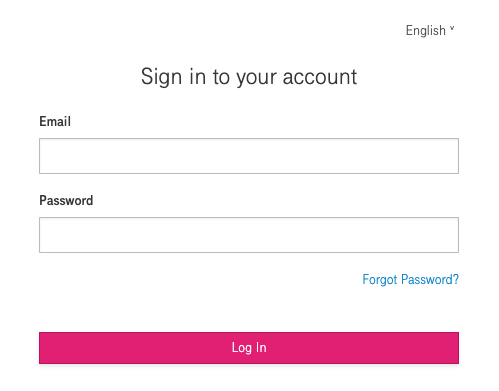
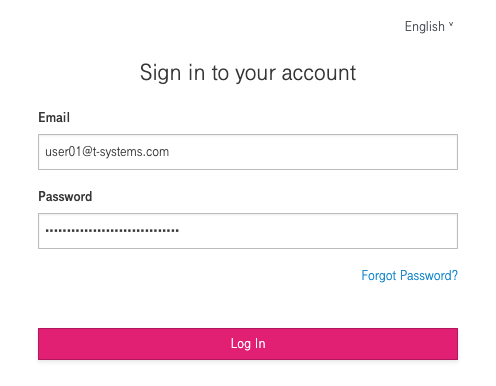
You can now access the application by entering your email and password and clicking the "Log in" button, or by pressing the Enter key on your keyboard.
Below is an example of how to complete the fields:
With this last step, you have successfully logged in and you can now use the application. Well done.
Forgotten Password
To access the application, in case you have forgotten your password, start by loading the login screen in your browser.
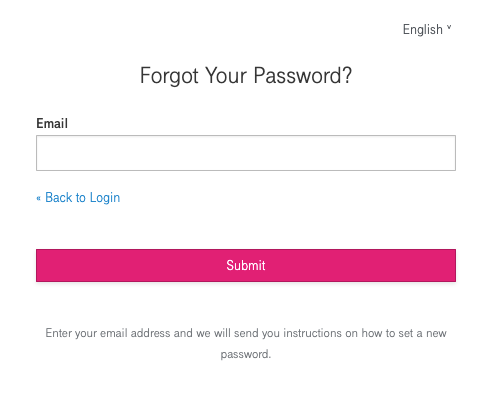
On this page there is a link with the text "Forgot Password?" click on it to be redirected to the login recovery procedure.
Here is an example screenshot below:
Once you click on the "Forgot Password?" link, you will be shown a new page where you just need to enter your email address and then click "Submit" or press enter on your keyboard.
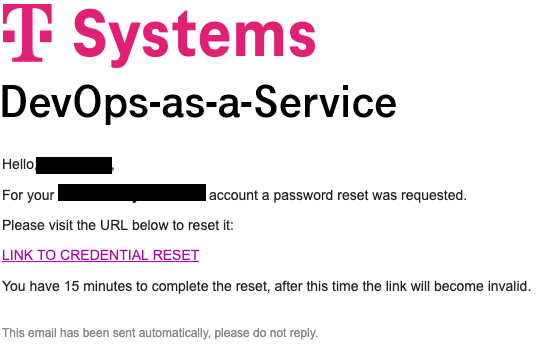
This action will send your email a link with which you can change your password.
Here is an example screenshot below:
You will then have to wait for the password reset email to arrive in your inbox.
Of course, it's always a good idea to check the Spam section of your inbox or repeat the steps if the email doesn't seem to be arriving, before contacting the support.
Here is a sample screenshot of the email below:
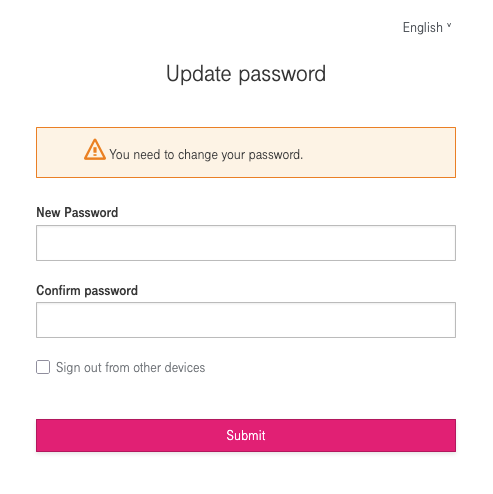
Once you click on the password reset link, your browser will open to a web page. On this webpage, you will be asked to choose a new password that meets the required security criteria.
Enter your chosen password twice to confirm.
After completing this step, click "Submit."
Here's a sample screenshot of the page below:
With this last step, you have successfully reset your password, and you can now use the application. Well done.
Change password
If you wish to change your password, the first step is to log in to the portal using your credentials.
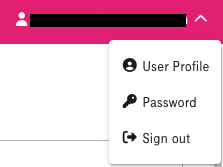
Once you are logged in, locate and click on the "email" drop-down menu in the main menu.
Within the drop-down menu, you will find an option labeled "Password" click on this option to proceed with changing your password.
Below is an example screenshot:
Once you click on the "Password" link, you will be shown a new page.
On this page, your email address is placed in square brackets.
You just have to press the "Request e-mail for new password" button to send you the email to change your password.
Here is an example screenshot below:

You will then have to wait for the password change email to arrive in your inbox.
Of course, it's always a good idea to check the Spam section of your inbox or repeat the steps if the email doesn't seem to be arriving, before contacting the support.
Here is a sample screenshot of the email below:
Once you click on the password change link, your browser will open to a web page. On this webpage, you will be asked to choose a new password that meets the required security criteria.
Enter your chosen password twice to confirm.
After completing this step, click "Submit."
Here's a sample screenshot of the page below:
With this last step, you have successfully changed your password, and you can now use the application. Well done.
Select Languages - Sprachen auswählen
The DevOps portal is set to English by default, which applies to all web pages and sent emails within the system.
However, there is an option available on each page we created to change the settings and switch to German (Deutsch).
Here is a sample screenshot below:
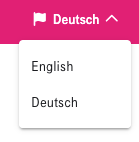
Within the DevOps portal, users have the option to change the language.
This can be done via the drop-down "Language" menu located in the top left corner.
Any changes made will be applied to the system's web and email pages.

With this last step, you are now aware of all the possibilities for the selected language. Well done.
Wenn das DevOps-Portal auf Deutsch eingestellt ist, gilt dies für alle Websites und E-Mails, die innerhalb des Systems versendet werden.
Auf jeder Seite, die wir erstellt haben, steht jedoch eine Option zur Verfügung, um die Einstellungen zu ändern und auf Englisch(English) zu wechseln.
Hier ist ein Beispiel-Screenshot unten:
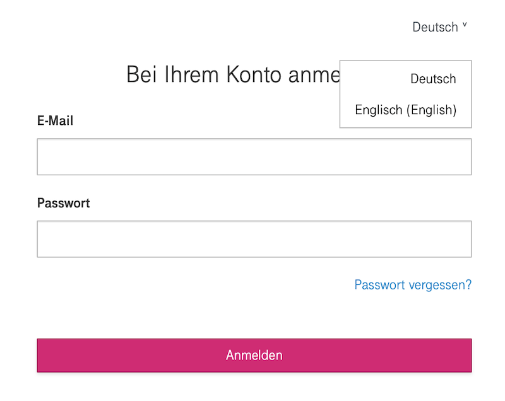
Innerhalb des DevOps-Portals haben Benutzer die Möglichkeit, die Sprache zu ändern.
Dies kann über das Dropdown-Menü "Sprache" in der oberen linken Ecke erfolgen.
Alle vorgenommenen Änderungen werden auf die Web- und E-Mail-Seiten des Systems angewendet.
Mit diesem letzten Schritt sind Sie sich nun über alle Möglichkeiten für die ausgewählte Sprache im Klaren. Gut gemacht.
The First Access
After completing the logging in for the first time, you might find yourself facing a completely blank page, as shown in the example screenshot provided below:

Please do not be alarmed. This situation typically indicates that you have not yet been assigned any projects, or there might be a configuration issue.
The application itself is functioning correctly. To address this matter, there are a few steps you can take.
If you have contact information for the system administrator, please reach out to them directly for assistance.
The administrator will be able to assign the necessary project or projects or rectify any configuration problems.
If you do not have direct contact with the administrator, you can easily identify them by navigating to the users page located in the main menu.
This will provide you with the information needed to reach out to the appropriate person for support.
Once everything has been configured correctly and any necessary project assignments have been made, the page will no longer be empty.
Instead, you will see links to all the tools and resources you have access to, enabling you to fully utilize the application.
Here is a sample screenshot below:

With this last step, you have successfully made your first access. Well done.
The Projects Page
In the main menu, one of the most important pages you will encounter is the Projects page.
This page provides a comprehensive overview of all the projects that have been assigned to you, along with a detailed view of their various features and attributes.
Key informantion available on this page include Project key, Type, Status, and Project Role.
To help you better understand, we have provided an example screenshot below:
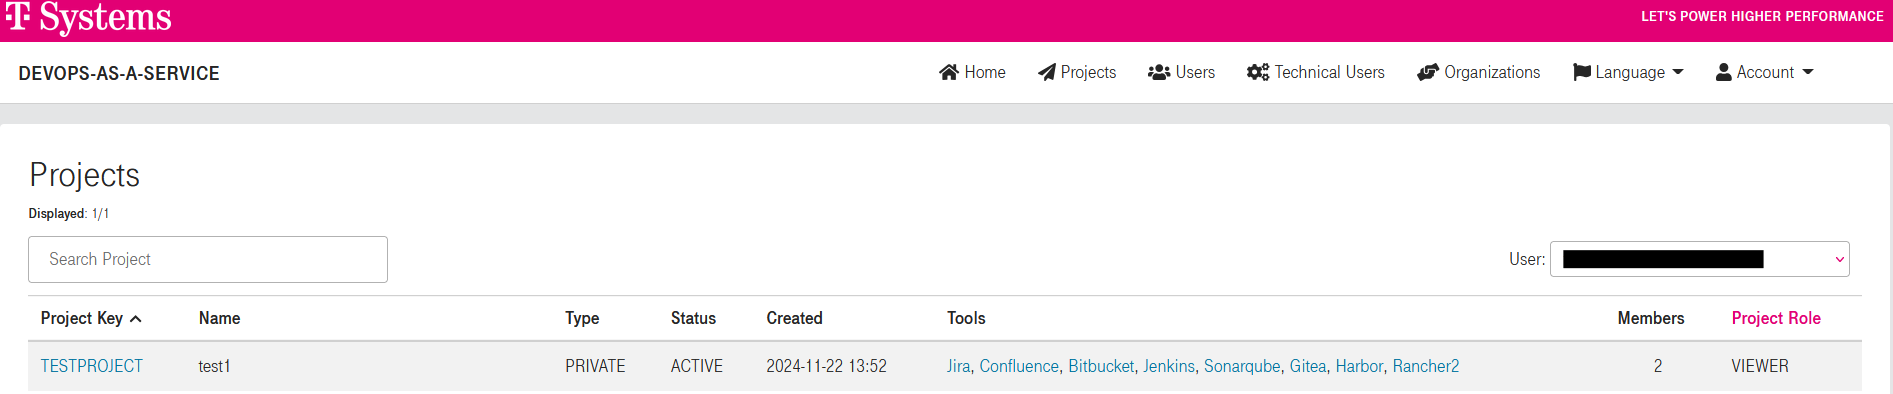
This page also allows you to search for projects that you have access to with the search bar under the Projects heading.
While with the drop-down menu on the left you can select a portal user to see if they have access to the projects you have access to.
It is important to note that the appearance of this screen may vary depending on your permission level.
If you have been granted a higher level of permissions, your view might look different from the example provided.
In such cases, you can simply follow this link: DevOps Portal for Admins to access the relevant information.
For those who need more detailed information about the individual tools, we recommend referring to the specialized pages dedicated to it.
These pages offer in-depth explanations and guidance on how to effectively utilize each tool.
Here is a list of useful links that you may find helpful for further details:
With this last step, you have successfully analized your project page. Well done.
The Users Page
In the main menu, another crucial page you will come across is the Users page.
This page is designed to provide you with a comprehensive overview of all the users who have been created within the portal.
Below, you will find an example screenshot:
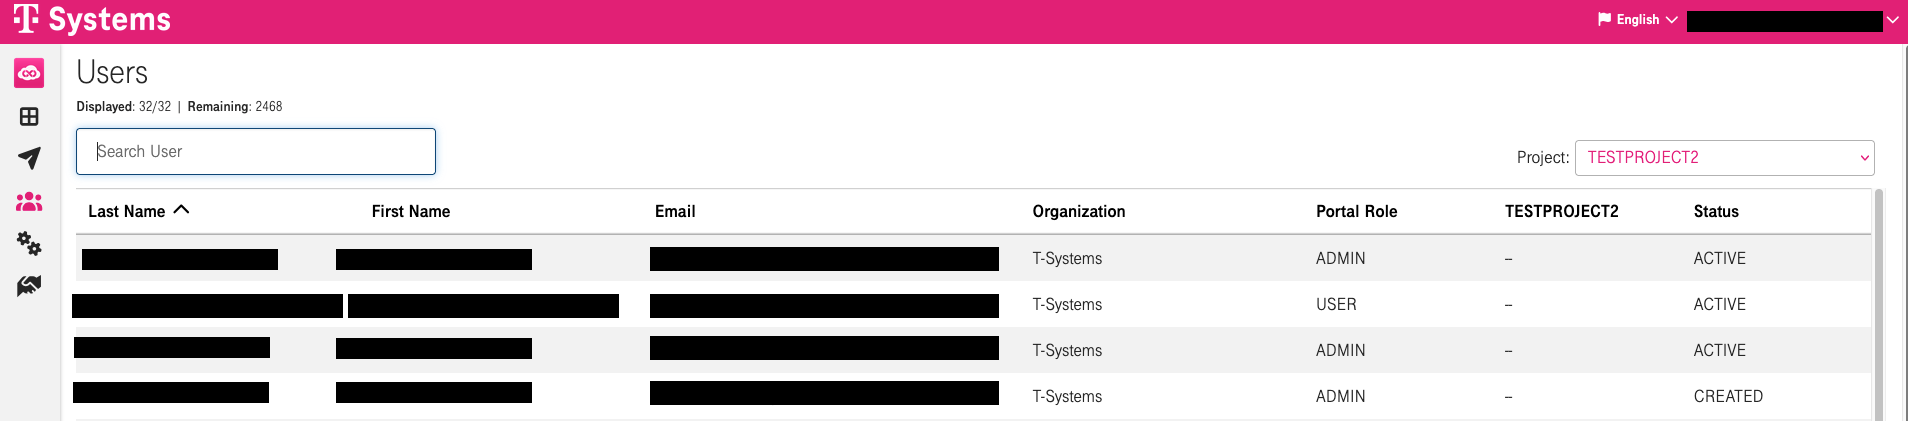
The is a search bar located under the Users heading enables you to quickly find the user you are looking for by entering relevant keywords.
Additionally, on the left side of the page, you will find a drop-down menu that allows you to filter the projects to which you have access.
This feature helps you to streamline your search and view only the users associated with specific projects.
You can sort the table in both ascending and descending order by simply clicking on the headers of the columns you wish to sort.
Moreover, the Users page is equipped with easily accessible contact information for the administrators.
The information is presented in a clear and straightforward manner, minimizing any potential confusion or delays in communication.
With this last step, you have successfully analyzed your user page. Well done.